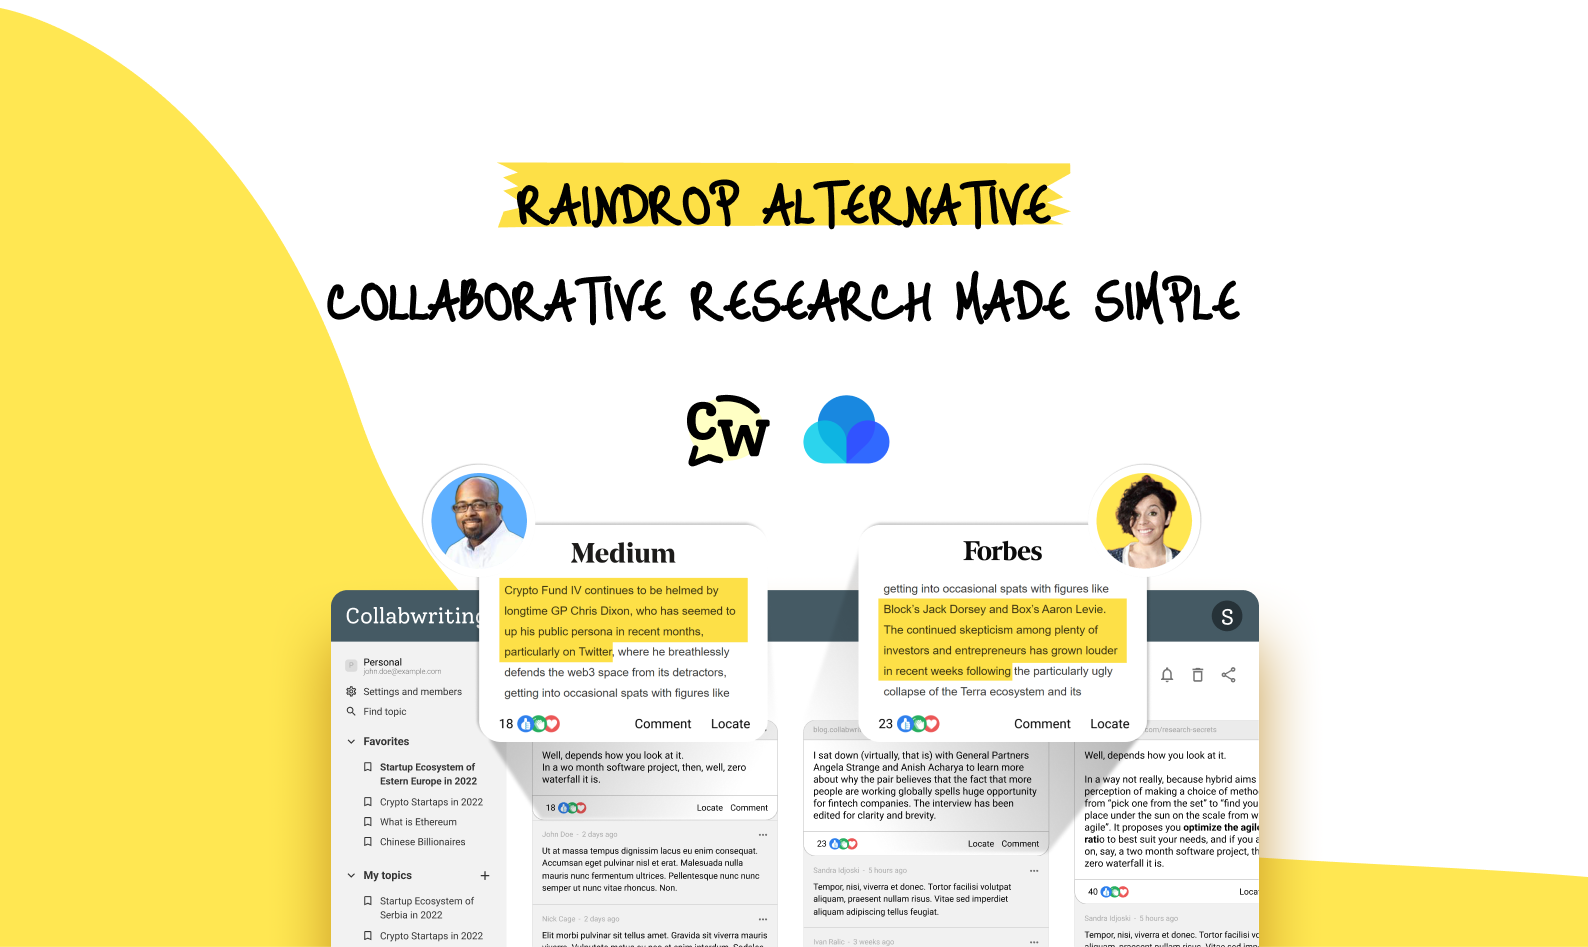
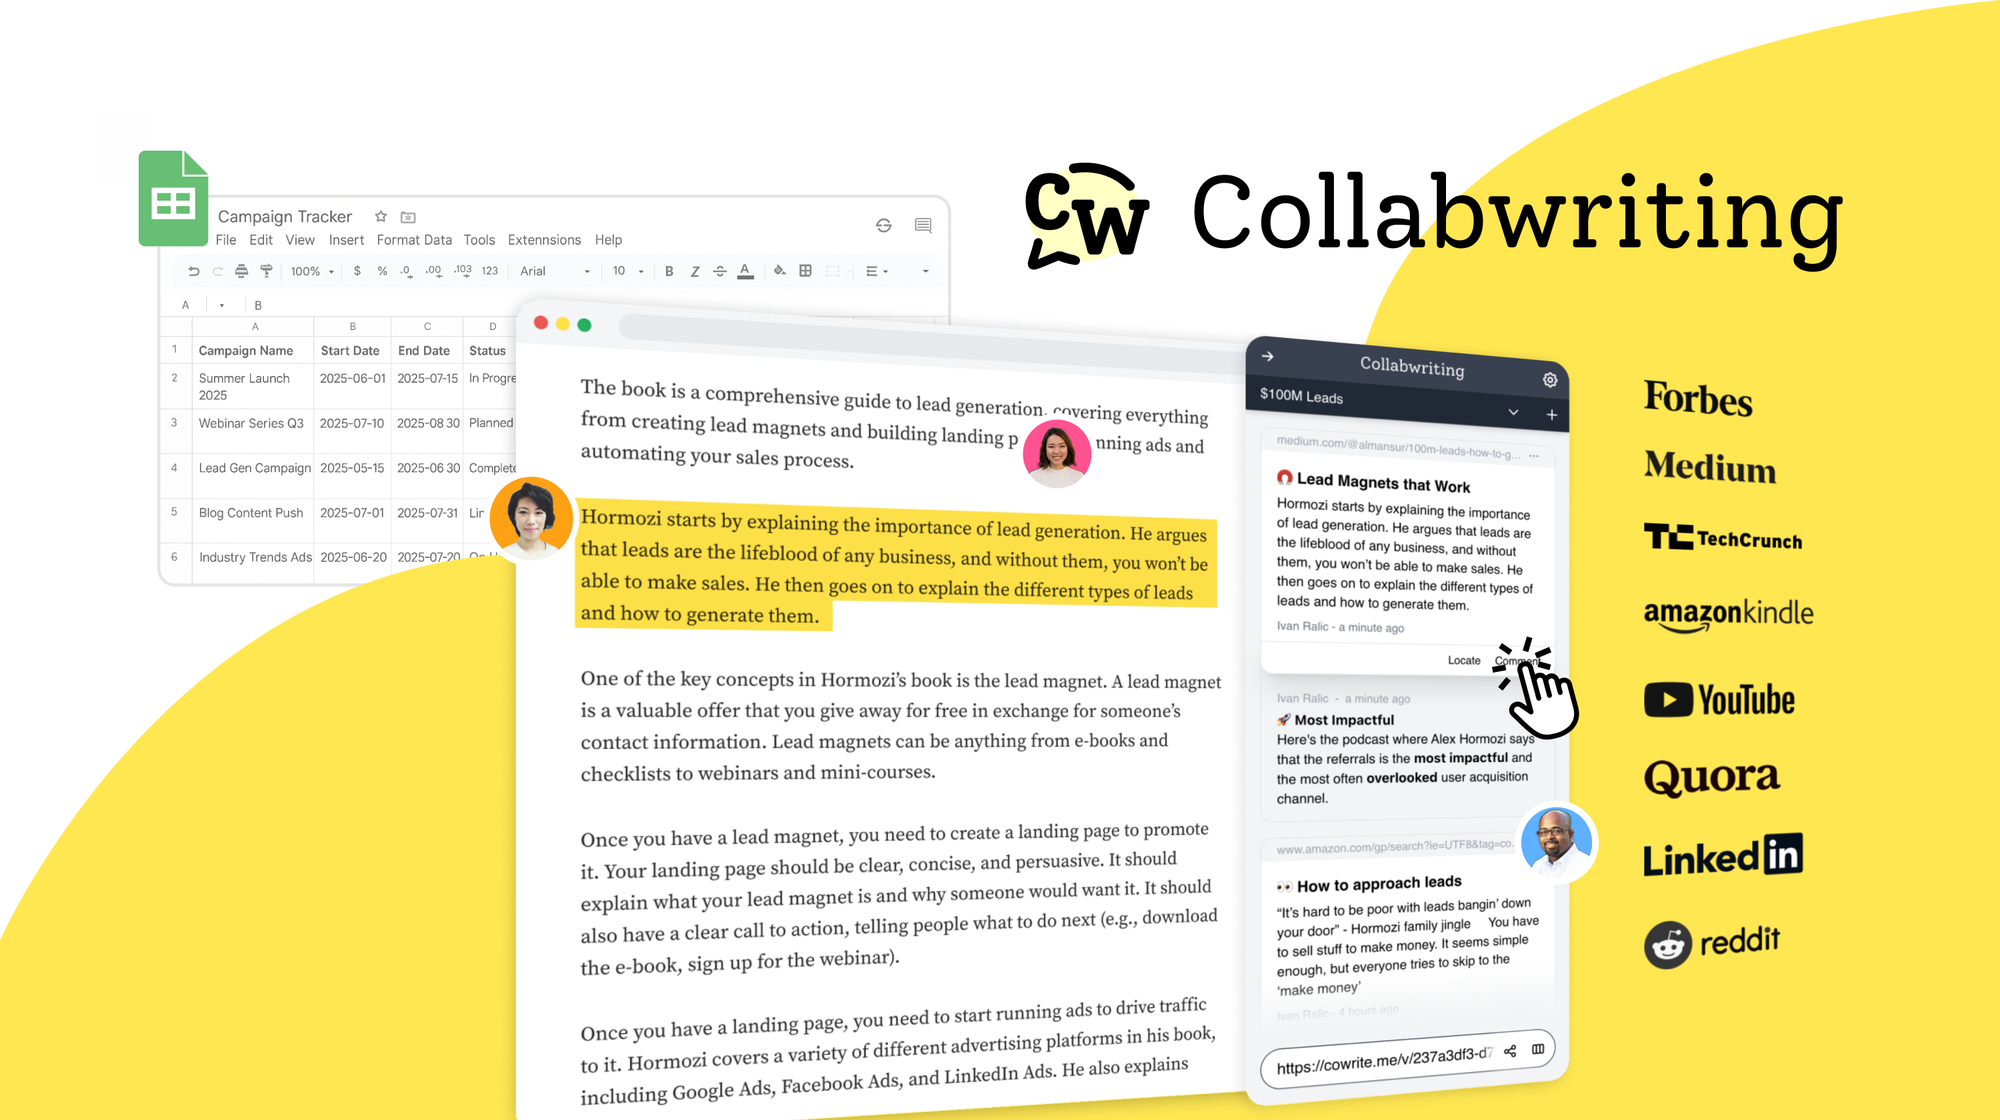
When you dive into research, whether it's for a project, a paper, or just out of curiosity, it can feel a bit overwhelming.
With so much information available, figuring out what’s important can be a challenge. But don’t worry!
Taking effective notes doesn’t have to be complicated.
Here’s a simple, step-by-step guide to help you navigate the research process using Collabwriting.
Step 1: Highlight Key Information
First things first, let’s get you set up!
Open the research paper you’re working on - this can be a PDF or a webpage. Once you have that open, load your Collabwriting extension.
👉🏼 Here's how to get the extension.
As you start reading, keep an eye out for key points, quotes, or data that really resonate with your topic.
As you come across these gems, just highlight them and press Enter to save them. Highlighting not only helps you focus on what’s important, but it also makes it easy to spot those crucial pieces of information later.
Here’s a tip: add comments to your snippets! This little addition will help jog your memory about why you thought that info was worth saving in the first place. Trust me, you’ll be grateful for that reminder down the line.
Oh, and don’t forget to add some relevant hashtags and reactions! This will make organizing and connecting your notes so much easier as you go along.
Step 2: Consolidate Information Across Documents
Now, let’s say you’re not just working with one document. You might have several papers or articles related to the same topic.
No problem!
Just reopen the Collabwriting extension and add more snippets to the topic you created earlier.
Keeping all your related notes in one place is like having a mini library at your fingertips.
This way, when it’s time to pull everything together, you won’t be scrambling around trying to find that one quote you loved from some random document.
It’s all right there, nice and tidy.
Step 3: Collaborate with Your Team
If you’re doing research as part of a team, Collabwriting has got your back!
You can easily manage permissions to determine who can see or edit your notes. Whether your teammates are viewers, editors, or commenters, you can set the right level of access based on their role in the project.
How your collaboration unfolds really depends on these permissions. Maybe someone is the main writer, while others are there for feedback or to provide additional insights.
Having clear roles helps keep everyone on the same page and makes working together much smoother.
To add external users, simply type "@" followed by their email address in the comment input field. You'll then select their role, and once you save the comment, they'll receive an email notification with instructions to register.
You can mention users from Slack too!
Step 4: Organize Your Snippets
Once you've gathered a good amount of snippets, it’s time to get organized!
Think of this as decluttering your workspace.
You can move your Topics around based on the different phases of your project, which helps keep everything organized and aligned with your goals.
When your project is complete, you can easily archive these topics. And hey, don’t worry - those archived notes will stay put until you decide to delete them. So, you can always revisit them if needed!
Step 5: Review and Reflect
After compiling your notes, take a breath and review everything you’ve gathered.
Spend some time reflecting on the key insights you’ve pulled together. This review is not just a box to check off; it’s a chance to synthesize your findings and spot any gaps that might need a little more digging.
Consider summarizing each snippet in a few sentences. This quick recap will reinforce your understanding and serve as a handy reference for when you start writing.
Step 6: Integrate Notes into Your Work
As you transition into writing your research paper or report, make sure to refer back to your organized snippets. This is where all that highlighting, tagging, and commenting pays off!
The notes you’ve taken will help enrich your writing and provide a solid foundation for your arguments.
But here’s where it gets even better:
Collabwriting makes it super easy to move your research notes around. You can use the Drag and Drop feature to export snippets directly into other apps.
Whether you’re working in Gmail, Notion, or Google Docs, just grab the snippet you want and drag it right where you need it.
And if you want to save your content for further analysis or collaboration, you have some great options:
- Export as CSV: This feature allows you to save your content and collaborative work in a structured, easily editable format. It’s perfect for anyone looking to continue working on or analyzing the data outside of Collabwriting.
- Export as PDF: Need a presentation-ready document? Just look for the "Print" button in the drop-down menu. Clicking that will open a Print panel where you can save your work as a PDF. This is ideal for sharing your research findings in a professional format.

Collabwriting - Shareable Notes on Web Pages and PDFs
Collabwriting allows you to gather all your online sources in one place. Just highlight, save, and collaborate with anyone on any content you find online.
No more endless scrolling, no more lost insights, just simple, structured knowledge at your fingertips.
Step 7: Continuously Update and Refine
Research is rarely a one-and-done deal. New information pops up all the time, and your understanding can evolve. So, keep your Collabwriting notes fresh!
As you discover new insights or credible studies, add them in. Refine your existing comments, and adjust your organization as needed.
This ongoing process will help you stay on top of your research and keep your work relevant.
Plus, it’s a great way to build a habit of lifelong learning!
As Tiago Forte once said:
Think of yourself not just as a taker of notes, but as a giver of notes - you are giving your future self the gift of knowledge that is easy to find and understand.
FAQ
How do I start taking notes with Collabwriting?
Open your research document (PDF or webpage) and load the Collabwriting extension. Highlight key points and press Enter to save them. Add comments and hashtags to keep your notes organized and meaningful.
Can I manage notes from multiple documents or sources in Collabwriting?
Absolutely! Add snippets from different documents/sources to a single topic in Collabwriting. This keeps all your related notes in one place, making it easy to find and organize them.
How can I collaborate with my team using Collabwriting?
You can manage permissions for your notes, allowing team members to view, edit, or comment based on their role.
How do I integrate my notes into my writing?
Refer back to your organized snippets while writing. Use Collabwriting’s Drag and Drop feature to move snippets directly into apps like Gmail, Notion, or Google Docs.
Can I export my Collabwriting data?
Yes! You can export your notes as CSV for further analysis or as a PDF for a professional presentation. Just look for the "Print" button in the drop-down menu on your Dashboard to save your research.


![The Best Tool for Collaborative Research in Content Marketing Teams [2026]](/content/images/2025/12/image--5-.png)

![5 Tools Marketers Use to Organize Research - Compared [2026]](/content/images/2025/11/cover-4-1.png)

![Build Credibility in Research: Smart Way to Verify Information and Track Sources Easily [2025]](/content/images/2025/10/covers-for-blog--7--1.png)

![How Marketers Can Turn LinkedIn Content into Collaborative Research [2025]](/content/images/2025/10/covers-for-blog--8-.png)
![Best Readwise Alternative for Personal & Team Research [2026]](/content/images/2025/09/Frame-814--3-.png)

